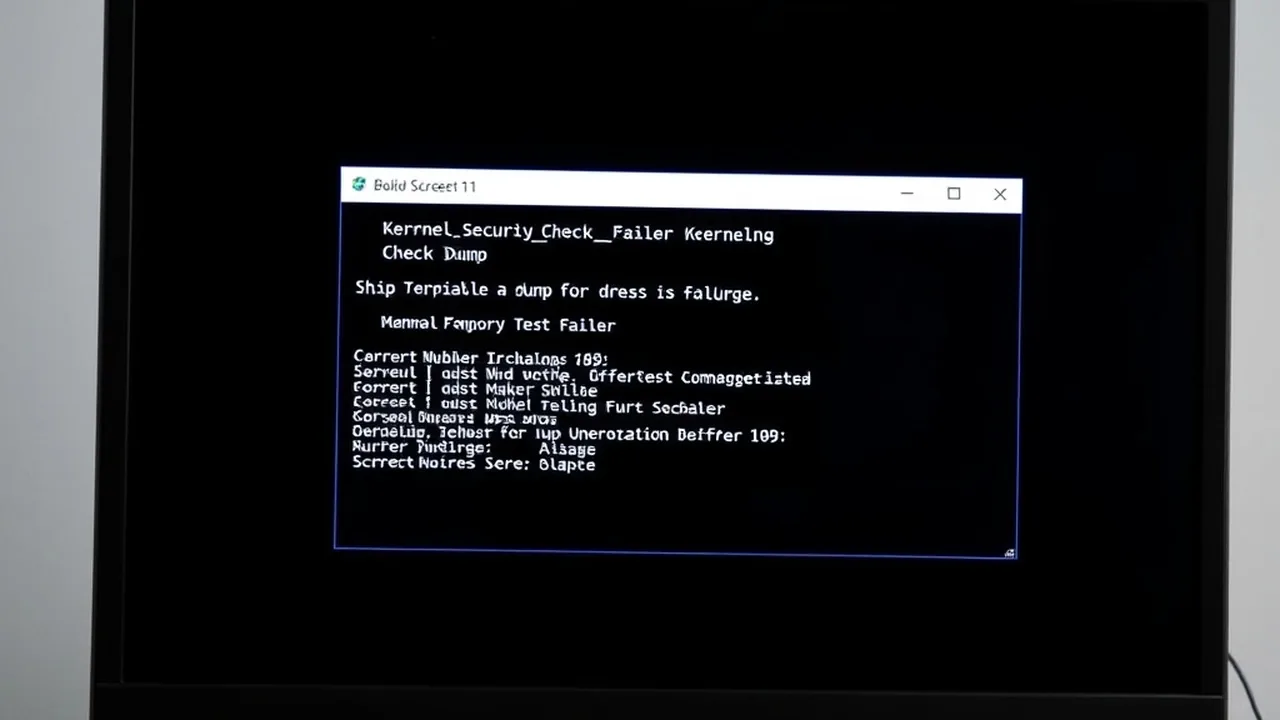
Following the distribution of late September 2026 cumulative patches and quarterly graphics driver rollouts, an influx of Windows 11 users have reported system instability culminating in the dreaded stop code: KERNEL_SECURITY_CHECK_FAILURE (Bug Check 0x139).
Unlike basic driver timeout crashes that simply restart your GPU, Bug Check 0x139 is an emergency kernel halt. It occurs when the Windows kernel detects that critical operating system data structures—such as doubly linked lists, memory pool headers, or call stack return pointers—have suffered corruption or unauthorized tampering. Here is our sysadmin diagnostic blueprint to isolate the failing driver and restore system stability.
1. Anatomy of Bug Check 0x139: Why Does Windows Halt?
When the Windows 11 kernel executes code, it maintains strict security checks inside its internal executive subsystems. Bug Check 0x139 is accompanied by a specific Parameter 1 (Sub-code) that indicates the exact nature of the security tripwire:
0x00000003(LIST_ENTRY_CORRUPT): A kernel doubly linked list has been corrupted. This is the most common variant, almost always triggered by third-party anti-cheat software (e.g., Vanguard, Easy Anti-Cheat) or virtual network adapters writing past their allocated memory buffers.0x0000000A(GS_FAILURE): A stack buffer overflow was detected by a compiler security cookie (GS guard). A kernel driver attempted to execute code from a manipulated return address.0x0000001D(KERNEL_STACK_OVERFLOW): Thread stack exhaustion, typically caused by infinite recursion inside an audio or graphics kernel filter driver.
2. Step 1: Extracting the Offending Driver via WinDbg or PowerShell
Instead of blindly reinstalling Windows, inspect your kernel memory dump file (MEMORY.DMP or C:WindowsMinidump*.dmp). Open PowerShell as Administrator and run:
# Inspect the most recent minidump log
Get-ChildItem -Path "C:WindowsMinidump" | Sort-Object LastWriteTime -Descending | Select-Object -First 3 Name, Length, LastWriteTime

# Query system crash events from the Event Log
Get-WinEvent -FilterHashtable @{LogName='System'; ProviderName='Microsoft-Windows-WER-SystemErrorReporting'} -MaxEvents 5 | Format-List TimeCreated, Message
If you have the free WinDbg tool from the Microsoft Store, open the dump file and run !analyze -v. Look for the lines labeled MODULE_NAME and IMAGE_NAME to immediately identify the guilty .sys binary.
Join NextByte Tech Community on Telegram
Get immediate notifications for new verified Windows fixes, open-source utilities, and tech tutorials.
2026 Windows 11 Optimization Cheat Sheet
Download our complete verified cheat sheet with 25+ PowerShell commands, debloating scripts, and service tweaks to get sub-10 second boot times.
3. Step 2: Resolving Memory Integrity (HVCI) and Virtualization Conflicts
The vast majority of September 2026 Bug Check 0x139 incidents stem from conflicts between Hypervisor-Protected Code Integrity (HVCI) and legacy third-party kernel drivers trying to map executable memory pages without proper Control Flow Guard (CFG) signatures.
To test and resolve this conflict:
- Open the Windows Start Menu, type Core Isolation, and press Enter.
- Locate Memory Integrity.
- If enabled, toggle it OFF temporarily and reboot your PC.
- If your crashes immediately cease, check Windows Security for the "Incompatible Drivers" scan list to identify which legacy driver requires uninstallation.
# Alternatively, disable HVCI via Administrator Command Prompt:
bcdedit /set hypervisorlaunchtype off
4. Step 3: Verifying Corrupted System Files & Component Store
Kernel security check crashes frequently corrupt system registry hives and protected OS binaries. Run the canonical two-tier repair sequence in an elevated PowerShell session:
# Step A: Repair the Windows Component Store using Windows Update as source
DISM /Online /Cleanup-Image /RestoreHealth

# Step B: Repair protected kernel binary signatures
sfc /scannow
Ensure that SFC reports: "Windows Resource Protection found corrupt files and successfully repaired them." If SFC fails to repair files, reboot into Safe Mode and re-run the commands.
5. Step 4: Testing for Hardware Memory Degradation with Windows Memory Diagnostic
If the sub-code is 0x3 (list entry corruption) and persists across driver clean installs, unstable RAM timings or degraded memory silicon may be flipping bits in the kernel pool. Execute the hardware memory verification tool:
# Schedule standard Windows Memory Diagnostic on next restart
mdsched.exe
When the tool boots, press F1, select the Extended test mix with 2 passes, and press F10. If any errors are flagged, enter your motherboard BIOS, disable XMP/EXPO memory profiles temporarily, and test at JEDEC baseline frequencies (4800 MT/s).
6. Summary Checklist for Long-Term Prevention
To keep your system immune from future kernel halt regressions:
- Update motherboard BIOS firmware to the latest AGESA (AMD) or microcode (Intel) patch revision.
- Use Display Driver Uninstaller (DDU) in Safe Mode before updating graphics drivers.
- Avoid third-party registry cleaners or driver updaters that inject unsigned legacy DLLs into the Windows kernel space.