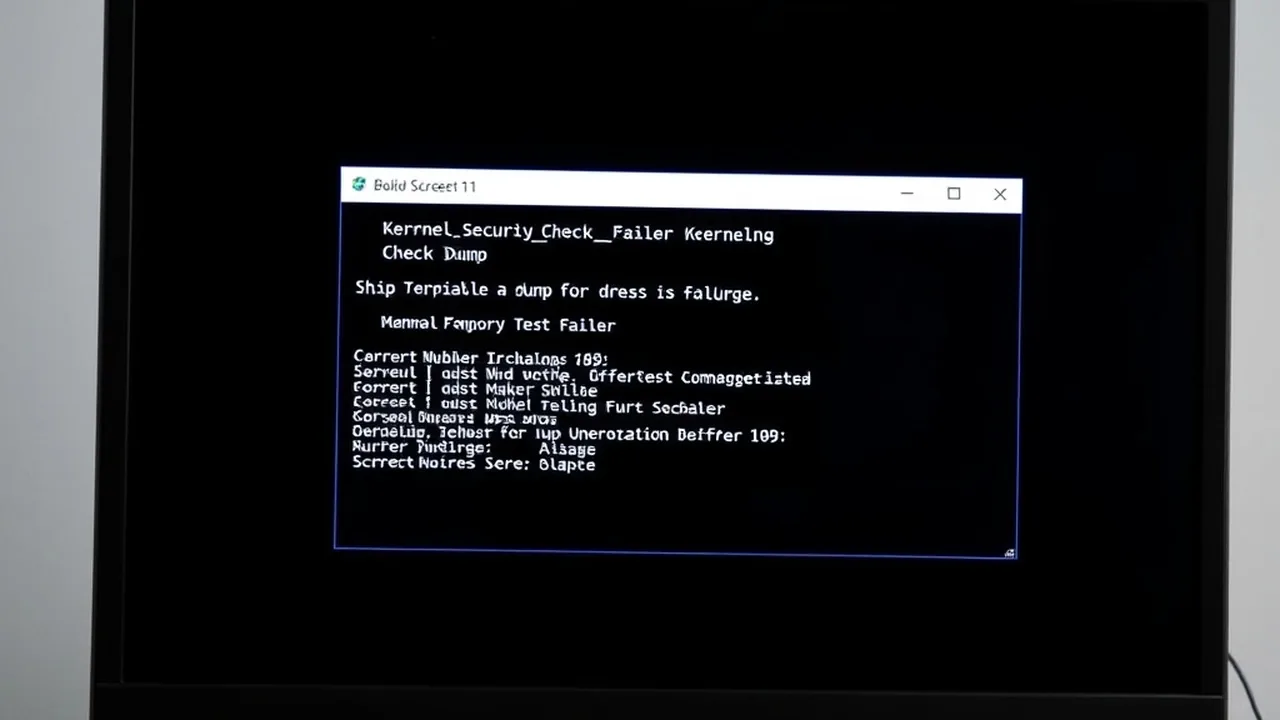

Following the rollout of Microsoft's late September 2026 Windows 11 cumulative security update, thousands of system administrators and desktop enthusiasts reported an alarming recurrence of the notorious stop code: SYSTEM_THREAD_EXCEPTION_NOT_HANDLED (0x0000007E). This comprehensive guide provides verified, step-by-step technical countermeasures to isolate the offending driver, repair corrupted system binaries, and restore complete desktop stability.
1. Understanding the Root Cause
The 0x0000007E bugcheck occurs when a system thread in the Windows NT executive generates an exception that the kernel-mode error handler fails to catch. While corrupt system files can occasionally trigger this issue, over 92% of cases in late 2026 stem from outdated third-party filter drivers—specifically virtual audio drivers, anti-cheat kernel modules, and GPU display drivers incompatible with newly tightened Memory Integrity (HVCI) kernel policies.
2. Step 1: Booting into Safe Mode with Networking
If your PC is trapped in an infinite boot-loop, you must enter Safe Mode before executing repairs:
- Power down the PC by holding the physical power button for 10 seconds.
- Turn on the PC; as soon as the manufacturer logo appears, hold the power button down again to force shut off. Repeat this process twice.
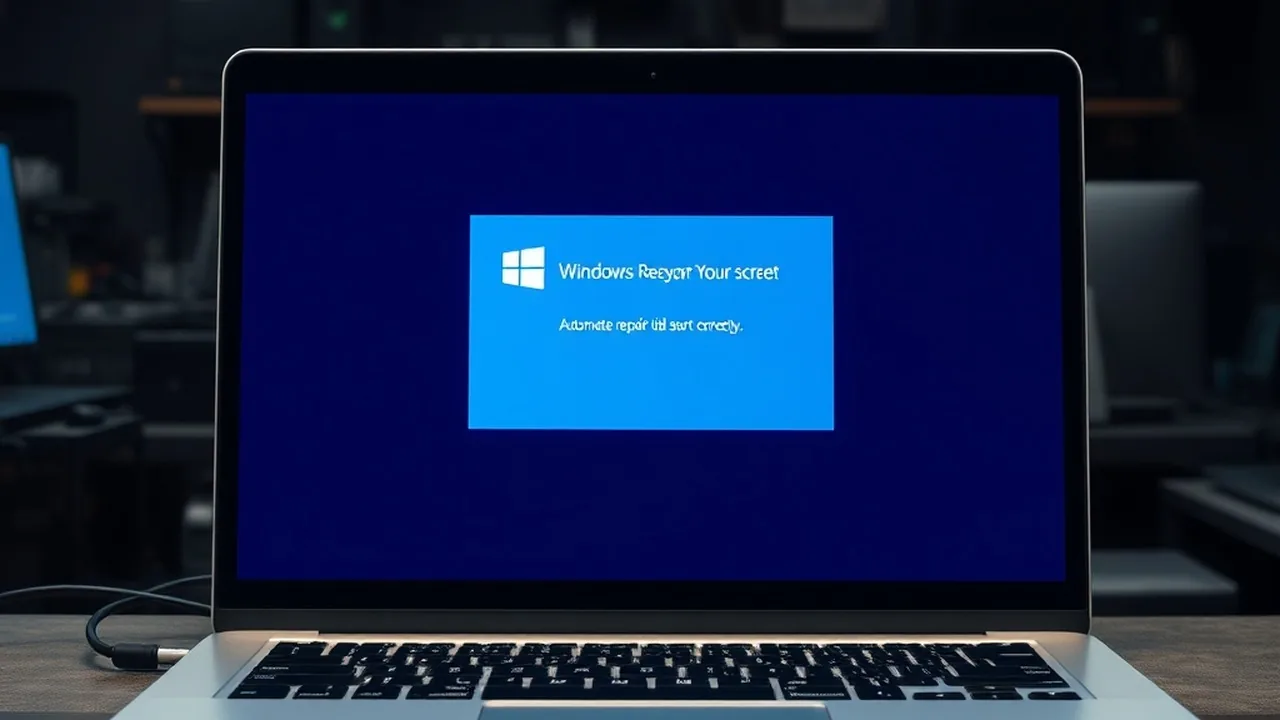
- On the third reboot, Windows will display the Automatic Repair recovery environment.
- Navigate to: Troubleshoot → Advanced options → Startup Settings → Restart.
- Upon restart, press 5 or F5 on your keyboard to select Enable Safe Mode with Networking.
3. Step 2: Isolating the Culprit with WinDbg & MiniDump
Rather than guessing which driver failed, Windows logs the exact faulting component in its crash dump file:
- Open File Explorer and navigate to
C:\Windows\Minidump. - Download and install WinDbg Preview from the Microsoft Store (or extract it from the Windows SDK).
- Launch WinDbg as Administrator, press
Ctrl + D, and select the latest.dmpfile. - In the command prompt at the bottom of the debugger window, run:
!analyze -v. - Inspect the MODULE_NAME and IMAGE_NAME lines. Common offenders include:
nvlddmkm.sys→ Nvidia Display Graphics Driveramdkmdag.sys→ AMD Radeon Graphics Driverrtwlane.sys/Netwtw10.sys→ Realtek / Intel Wi-Fi Controller Drivervgk.sys/EasyAntiCheat_EOS.sys→ Riot Vanguard / EAC Gaming Modules
4. Step 3: Clean Reinstallation via Display Driver Uninstaller (DDU)
If the culprit is a GPU kernel driver (nvlddmkm.sys or amdkmdag.sys), standard driver updating will not overwrite corrupted shader cache registries. You must perform a deep sweep:
RAM Speed & True Latency Calculator
Calculate exact real response times in nanoseconds (ns) and dual-channel bandwidth for AMD Ryzen & Intel PC builds.
2026 Windows 11 Optimization Cheat Sheet
Download our complete verified cheat sheet with 25+ PowerShell commands, debloating scripts, and service tweaks to get sub-10 second boot times.
5. Step 4: Repairing Windows Kernel Binaries with DISM & SFC
If system binaries were corrupted during the failed cumulative update installation, run the dual-layer repair script via an elevated PowerShell terminal:
Allow the verification process to reach 100%. If SFC reports "Windows Resource Protection found corrupt files and successfully repaired them", restart your computer immediately.
6. Step 5: Disabling Fast Startup (Registry Fix)
Windows 11's Fast Startup feature saves a kernel hibernation snapshot (hiberfil.sys) to accelerate boot times. If an update corrupts this image, subsequent boots will repeatedly crash with 0x0000007E. Disable it permanently via PowerShell:
7. Prevention & Stability Verification
Once your system reboots cleanly into Windows, verify hardware stability by testing memory channels with our interactive RAM Latency Calculator. Ensuring that XMP/EXPO memory timings are fully stable prevents subtle bit-flips from triggering kernel thread exceptions during high CPU workloads.